Opener installation done to the standard, with the outlet, the wiring and the reverse test included
Hanging an opener is an afternoon's work when it is done right and a recurring headache when it is not. The rail has to be level, the header bracket into solid wood, the photo-eyes at the right height, the force set so the door reverses on a block, and the outlet close enough that nobody runs an extension cord across the ceiling.
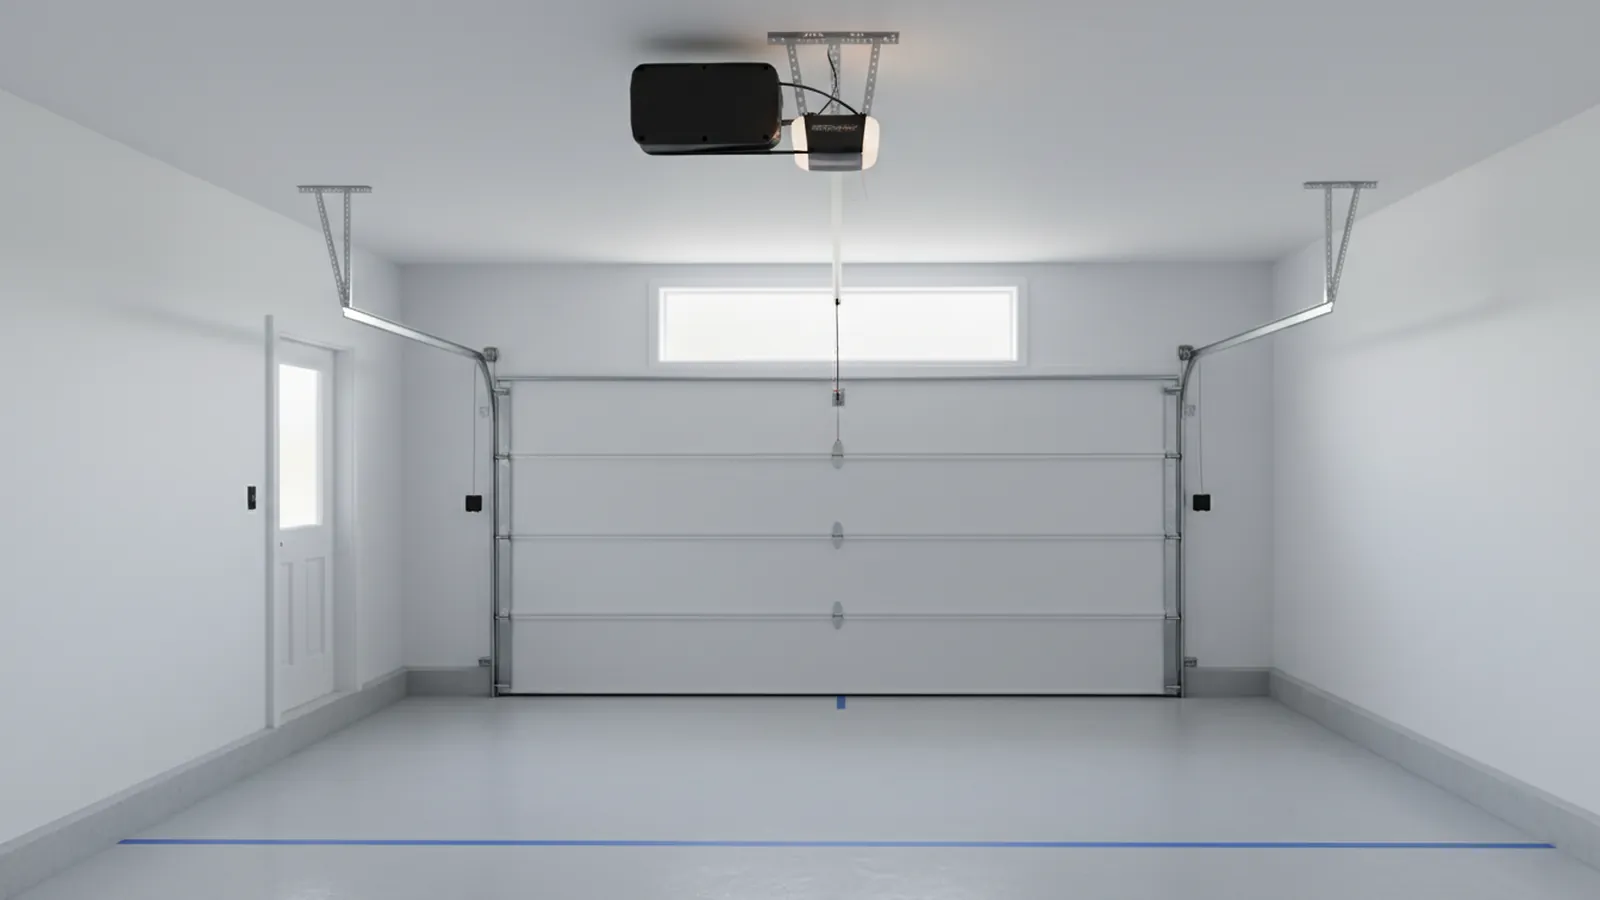
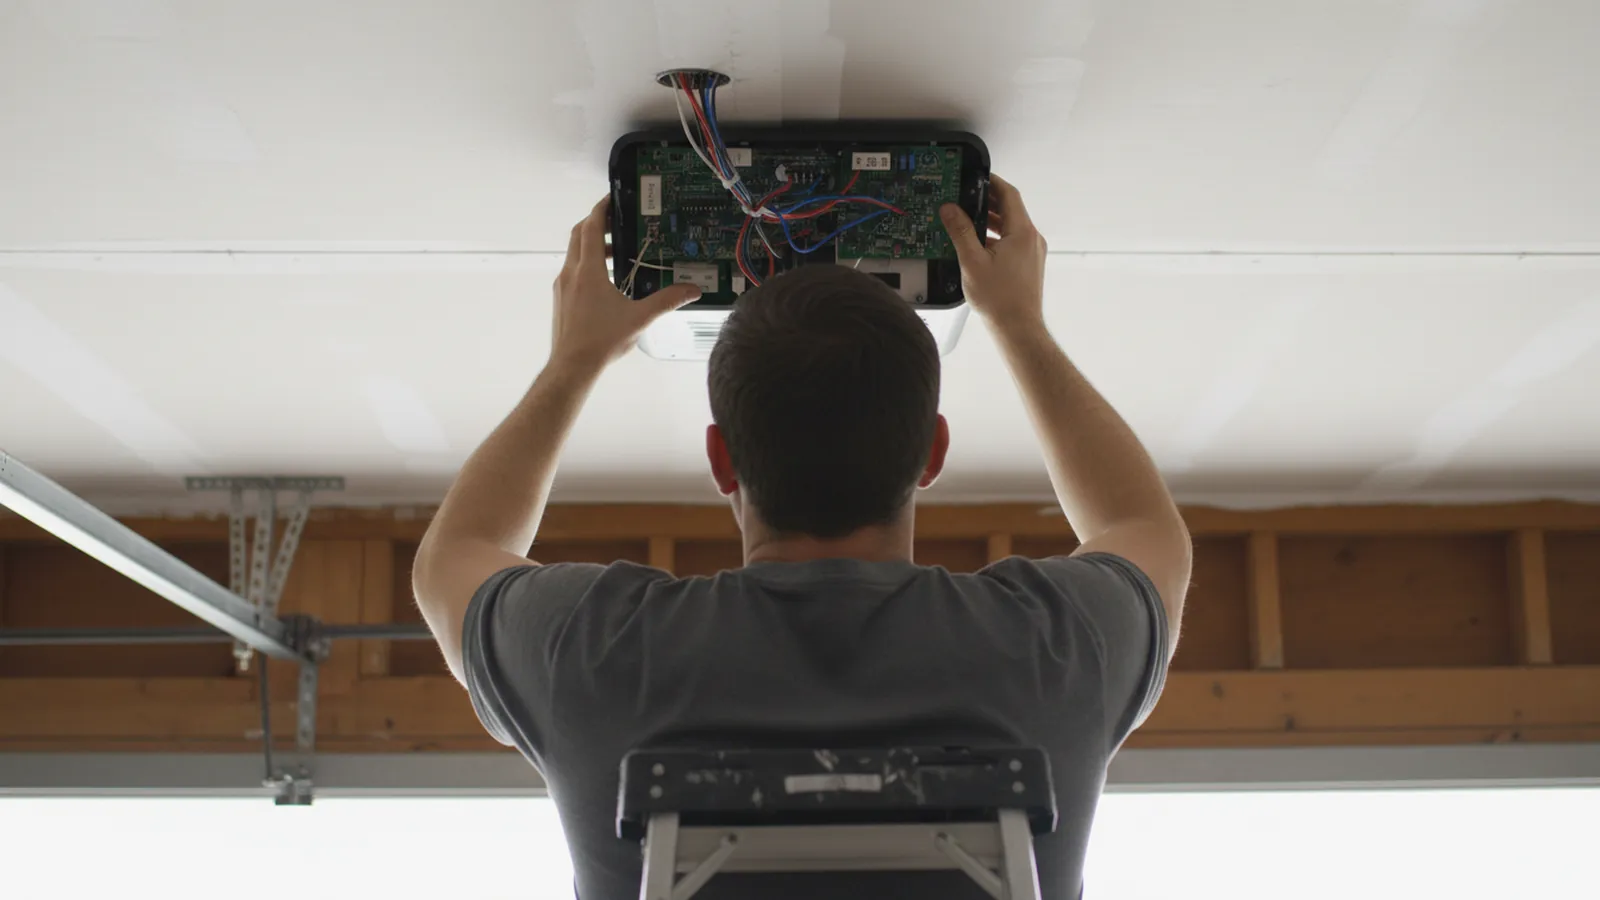
The installation follows a fixed sequence. The header bracket is lagged into the framing above the door, not into stucco or drywall, because it takes the full pull of the opener on every cycle. The rail is hung level from the header to the powerhead, and the powerhead is hung from angle iron bolted to ceiling joists; on the trussed garages common in Surprise that means finding the truss chords, not the drywall. The trolley is set, the door arm is attached to the top section's reinforced bracket, and a door without one gets a strut, because an opener pulling on an unreinforced top panel bends it within a year.
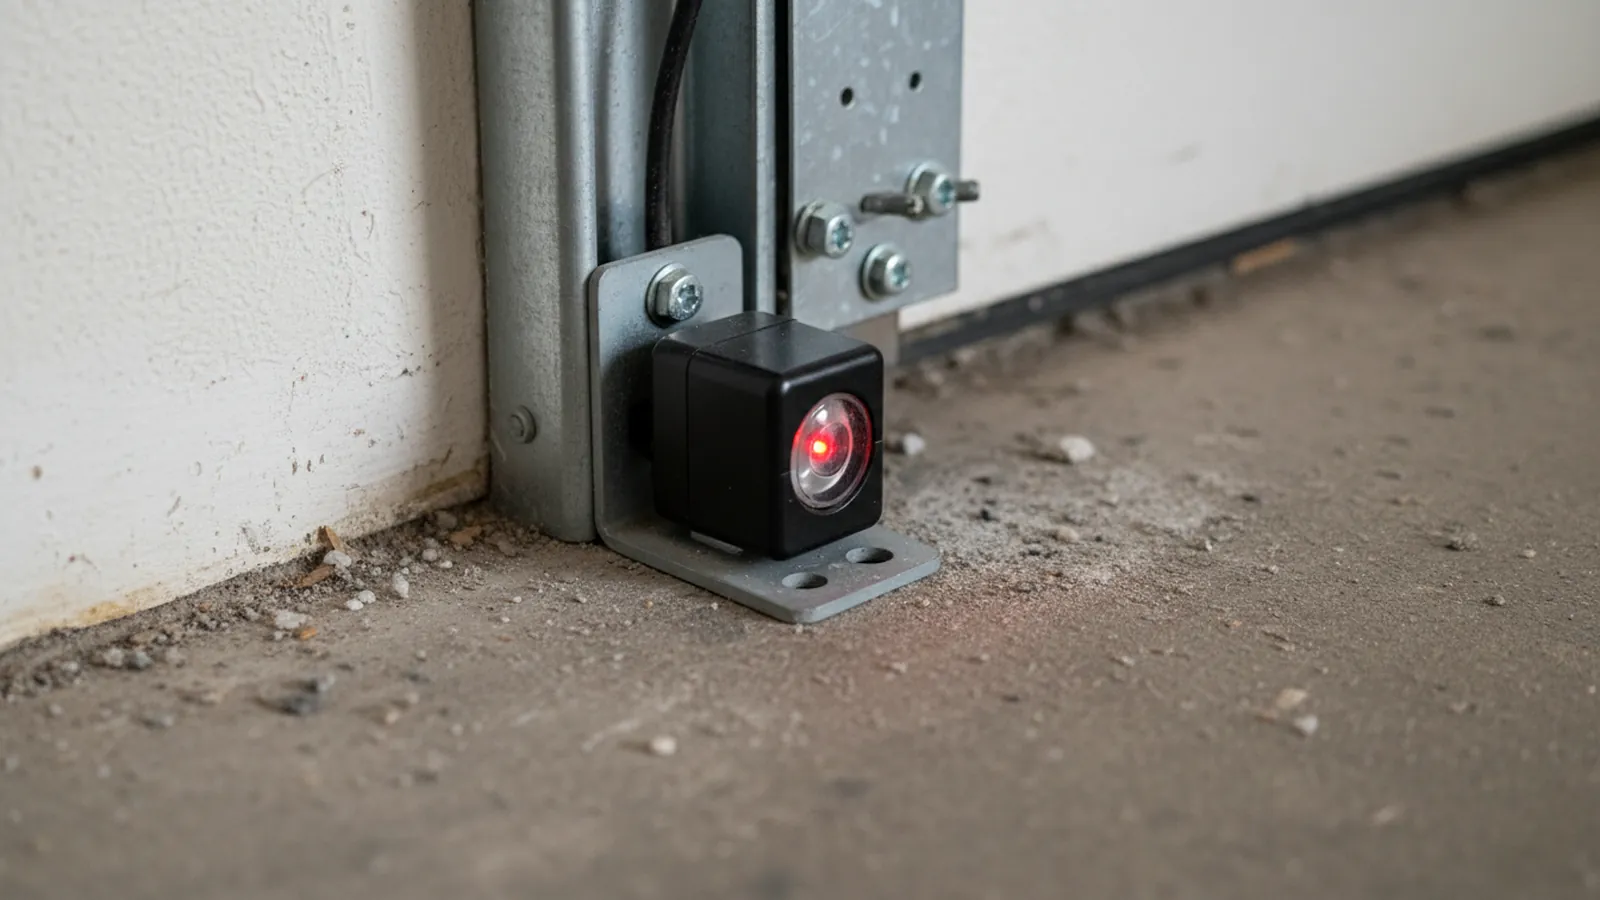
The photo-eyes go on the track brackets no higher than six inches off the floor, aimed at each other until both indicator lights hold steady. On a west-facing garage the receiver is mounted on the side that gets the least afternoon sun, or fitted with a hood, so the door does not refuse to close at 6 p.m. every day from May to September. The wall console and keypad are wired and mounted, the travel limits are set so the door seals at the floor without straining, and the close force is set to the lightest value that still closes the door. Then the reverse test: a two-by-four flat on the floor under the door, and the door must reverse on contact.
Two West Valley specifics. The opener needs a grounded outlet within reach of its cord; garages built in the 1960s and 70s in Sun City sometimes have none near the ceiling, and a licensed electrician adds one before the opener goes up. And a surge-protected outlet or a plug-in protector on the opener circuit is cheap insurance against the monsoon lightning that otherwise ends an opener's life in its first summer.
Before the install begins the door is balanced by hand. New openers are rated for a balanced door; one that is lifting dead weight because the springs are tired will strip its gear or trip its overload within months. If the springs are due, you hear it with a price, and the two jobs can be done in the same visit.
How the job is handled
Header and powerhead into framing
Lag bolts into the header and the truss chords, never into stucco, foam or drywall.
Top section reinforced
A strut fitted on doors without a reinforced top panel so the opener's pull does not bend it.
Photo-eyes placed for the sun
Six inches off the floor, receiver on the shaded side or hooded, so the door closes at 6 p.m. in July.
Limits and force set properly
Door seals at the floor without straining; close force at the lightest setting that works; reverse test on a block.
Outlet and surge protection
Grounded outlet confirmed within reach; surge protection recommended and fitted on request.
Remotes, keypad, HomeLink, app
All paired and tested before the technician leaves.
Opener installation: West Valley prices for 2026
| Work | Range | What changes it |
|---|---|---|
| Belt-drive opener with battery backup, installed | $550 – $950 | Includes rail, photo-eyes, wall console, two remotes |
| Chain-drive opener, installed | $420 – $700 | Detached garages and workshops |
| Wall-mount jackshaft opener, installed | $850 – $1,450 | Torsion-spring doors with side clearance |
| Top-section strut, if missing | $60 – $130 | Required on unreinforced doors |
| Labor only, customer-supplied opener | $180 – $320 | Unit must have photo-eyes |
| Keypad or extra remote | $40 – $90 | Programmed |
| Surge-protected outlet | $50 – $130 | Plug-in or outlet replacement |
Planning ranges for Surprise and the surrounding West Valley cities in 2026. The figure you pay is the one written down on site before the work starts; quotes on replacement doors and new openers are free and hold for 30 days.
From the field
Asked about opener installation
How long does an installation take?
Two to three hours for a standard belt drive, longer for a wall-mount unit or when a strut and a new outlet are needed. It is a same-day job in most cases.
Will the new opener fix my loud door?
It fixes the opener's share of the noise. Most grinding and squealing is worn rollers and dry hinges, and the technician will say so; a nylon roller set with the new opener is often the real cure.
Do I need an electrician?
Only if there is no grounded outlet within reach of the opener's cord. Older Sun City garages sometimes need one added; the opener cannot run on an extension cord.
What horsepower do I need?
A ½-HP-class belt drive handles most one- and two-car steel doors. Heavy insulated or wood doors and doors over 8 feet tall want a ¾ or higher unit. The technician sizes it to the door's weight.
Can the opener be installed on a door with extension springs?
A trolley opener can. A wall-mount jackshaft opener needs a torsion shaft, so a conversion comes first.
Does the installation include the reverse test?
Every time. A two-by-four flat under the door, and the door reverses on contact, or the force is adjusted until it does.